There are a wide variety of tutorials available on making miniature card figures for role playing games. However I have not been able to find a good A4 template to help in creation so I thought I would create one. The template can be downloaded from here.
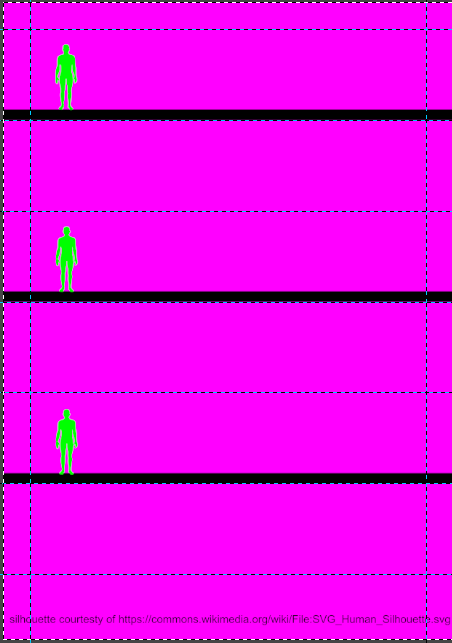
The template consists of a series of guidelines to help scale miniatures. It also includes some example figures scaled for 28mm models (using a human silhouette from Wikipedia) and a layer with the base tabs for the models. When you first open it it will look like this:
Using the template
To use the template follow the following steps (basic GIMP knowledge is assumed):
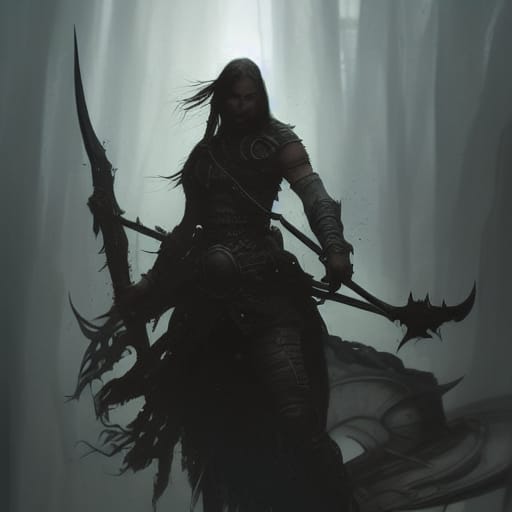
Select some images to use for your models. It is best if these are at least 400 pixels tall and have a background that is easy to separate from the figure you desire. Night Café has an online generator that might be able to create nice images for you or you could use Midjourney on Discord for which I have a helpful cheat sheet. As an example I am going to use an image I created on Night Café.
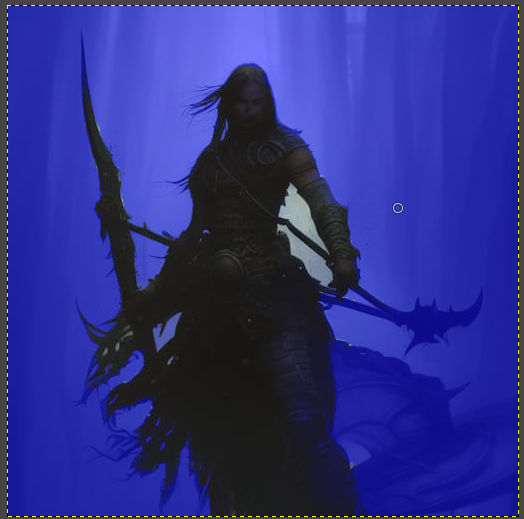
Open the image or images in GIMP. Also open the template file.
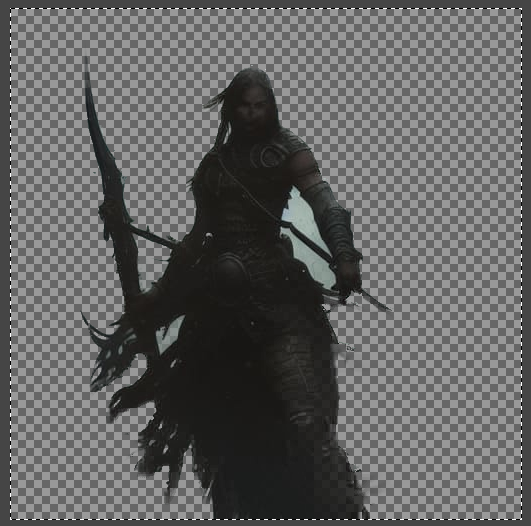
Delete the background from your figure. To do this you should first ensure that the image has an alpha transparency layer by selecting Layer > Transparency > Add Alpha Channel. Then using either the fuzzy select tool or the foreground selection tool remove the background to leave transparency.
Instructions on how remove backgrounds in general can be found here. The documentation for the foreground selection tool which is a little complicated to use can be found here.
Copy your cleaned character image and paste it into a new layer in the template. Use the move and resize tool to position it so its feet are in contact with one of the three black bars and it is the correct height in relation to the green figures. If you want to create larger characters beware of overlapping the horizontal guide lines since this might cause tokens to collide later in the process.
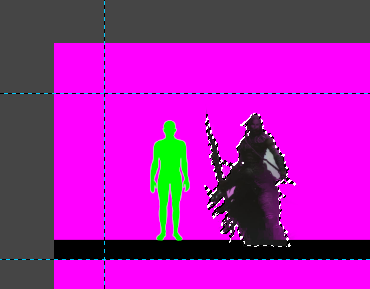
Repeat for all the characters you wish to create tokens for. The pink background should alert you to any issues where your background deletion also removed parts of images.
In the layers tab, hide all layers except the token layers by unchecking the eyeballs. Right click in the layers tab and select New From Visible.
Optionally, if you want a border round your character models, select the new compounded layer, then click in the empty space on the layer with the fuzzy select tool. Invert the selection with Select > Invert. Expand it with Select > Expand Selection, about 10 pixels should suffice. Create a new layer, fill with black using the bucket tool and move behind your compounded character layer.
Unhide the “Base Tabs Upper” layer and create a new layer from visible.
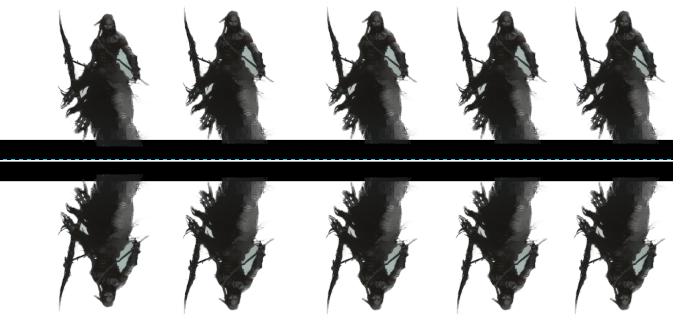
Copy each row of figures into a new layer, select Layer > Transform > Flip Vertically. Then reposition the flipped copy so that it is directly below the original copy with a couple of pixels of white between the black bars. This small gap helps with registration for folding later. Repeat for each row of figures.
Fill the pink background with white using the bucket fill tool. Now you can print your models.
Completing your miniature figures
Cut the page into three sections keeping the mirror images together. Fold along the thin white line you left between the base tabs. Then either glue round an piece of card for stiffness or glue the folded paper together and laminate.
Finally cut your models out and mount on bases. Here is a handy video that shows some approaches to placing your miniatures on bases.